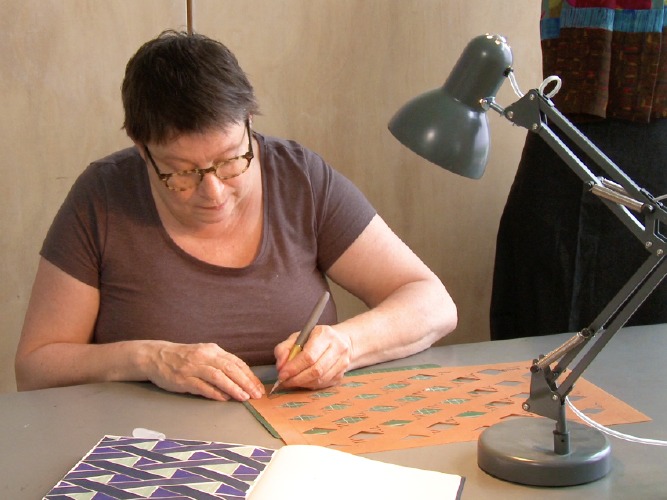
Since 2005, I design and create printed silk scarfs using the Japanese Katazome technique, a very laborious stencil printing technique. I cut stencils (katagami) in simple patterns and combine them in different ways, leading to new patterns every time I print.
The process is complex, and the result is a bright, intense coloured print on silk.
Please browse through this gallery to see my Katazome process and a selection of my works.
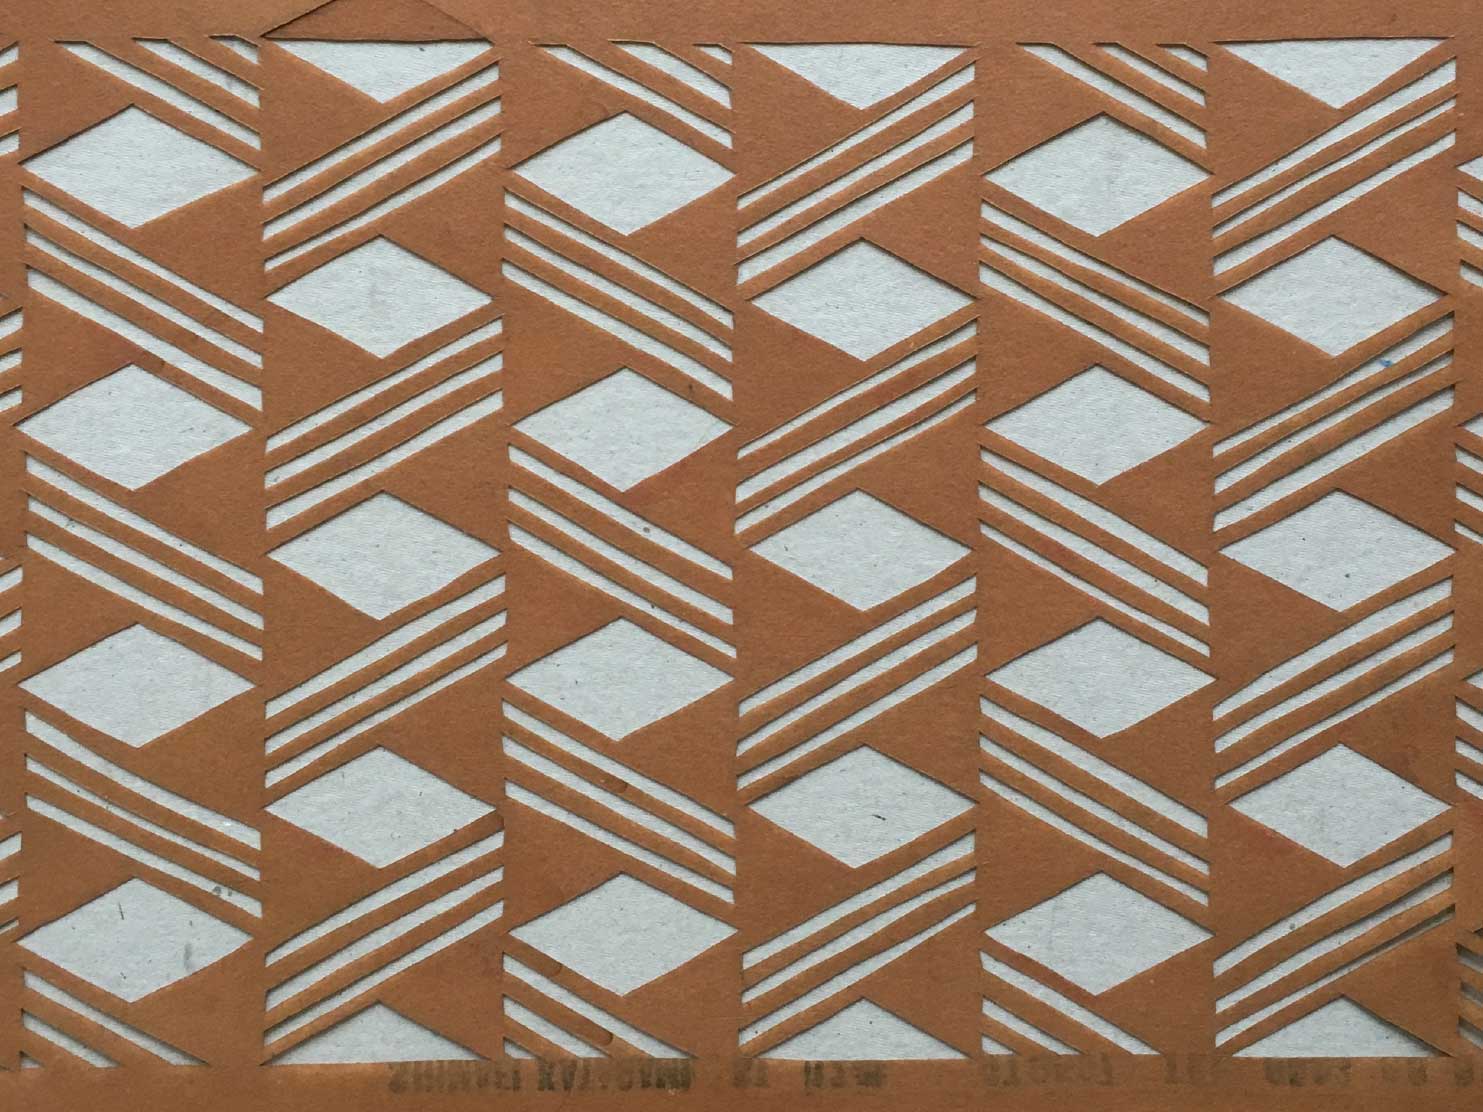
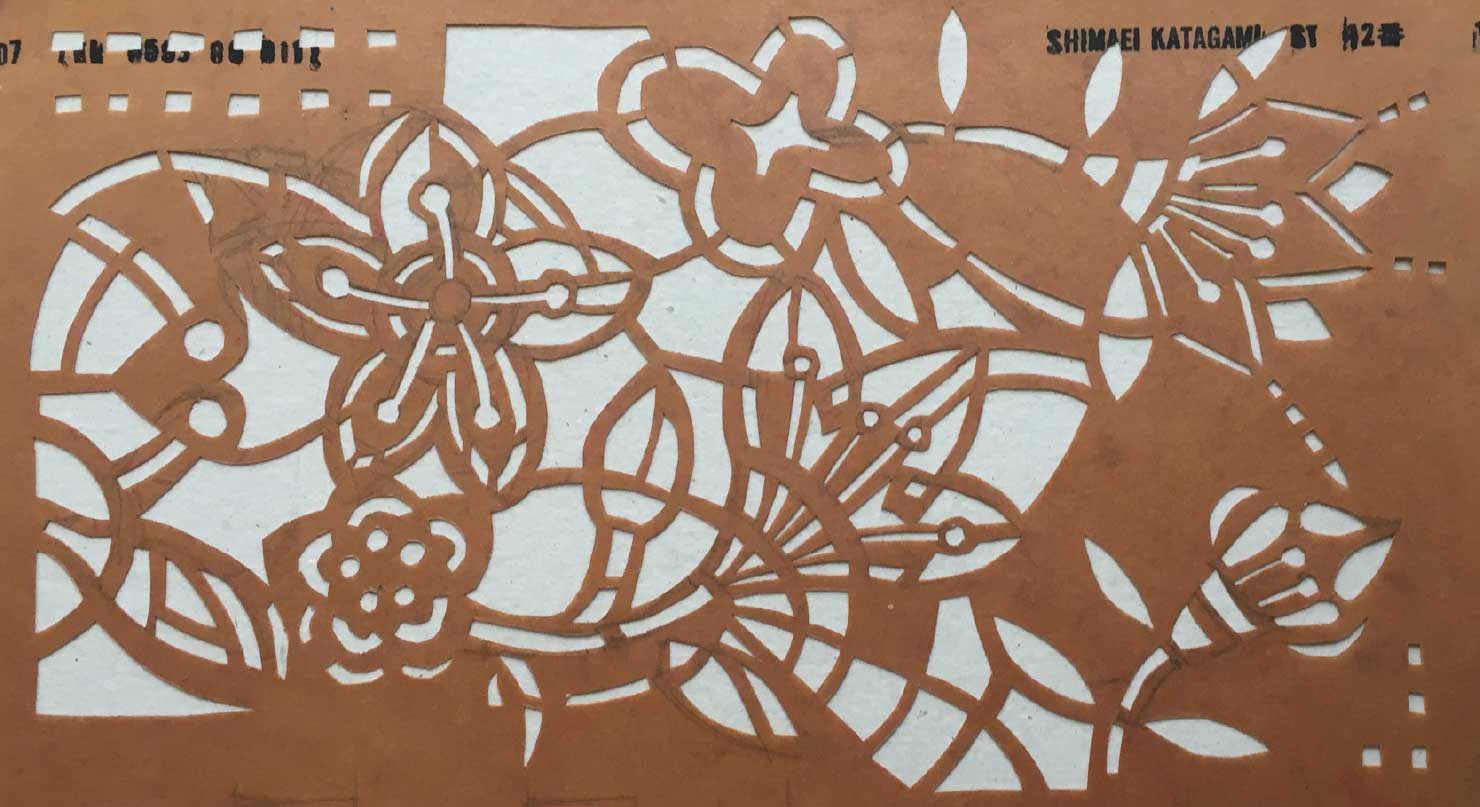
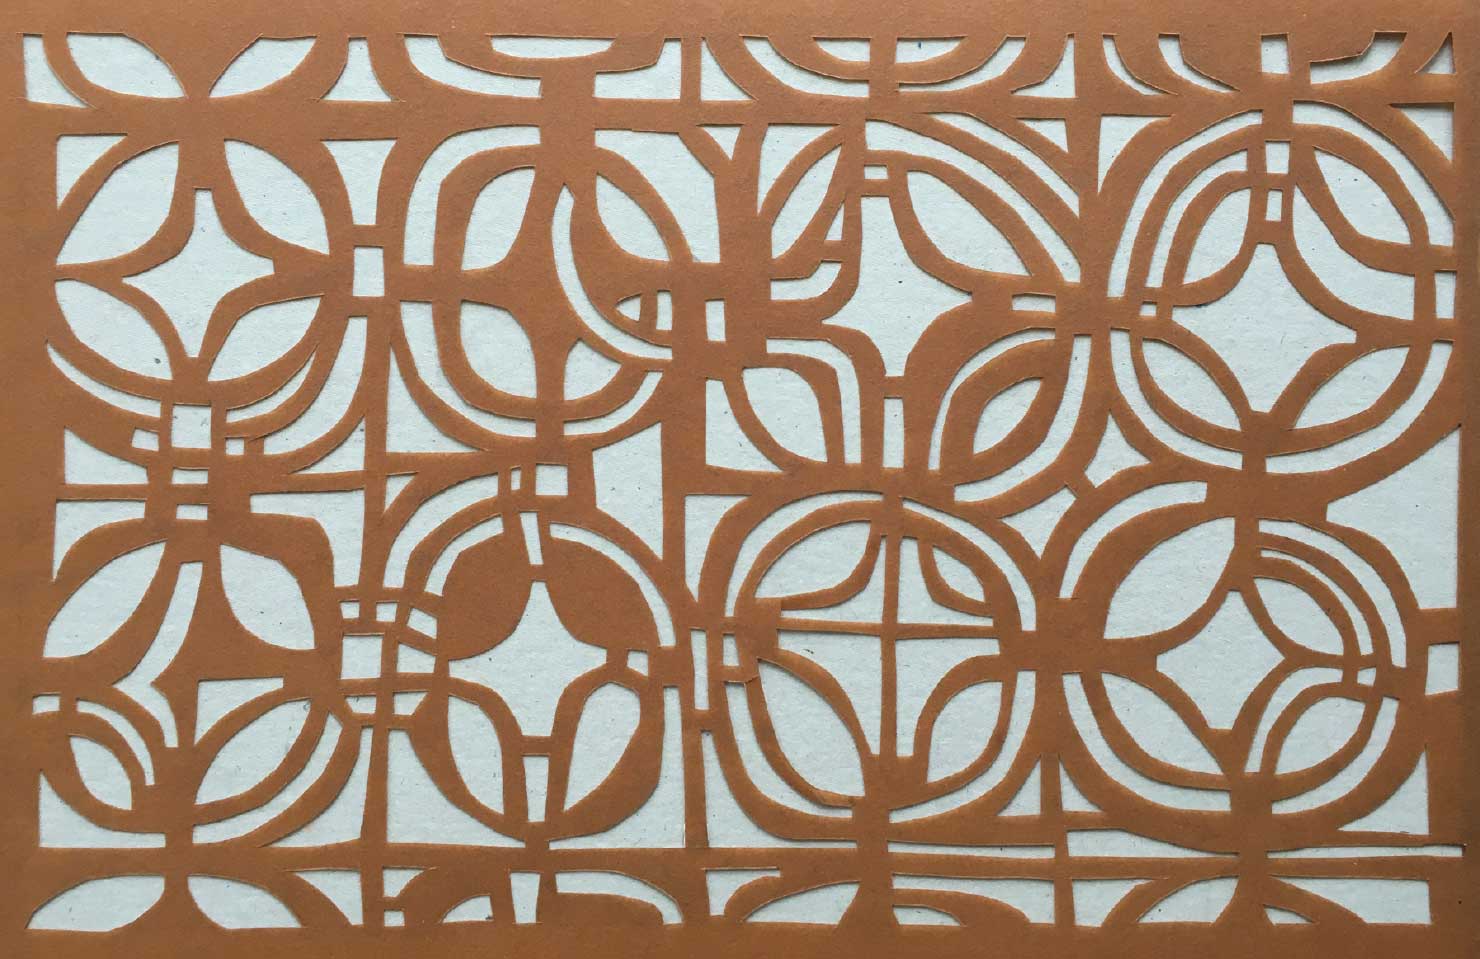
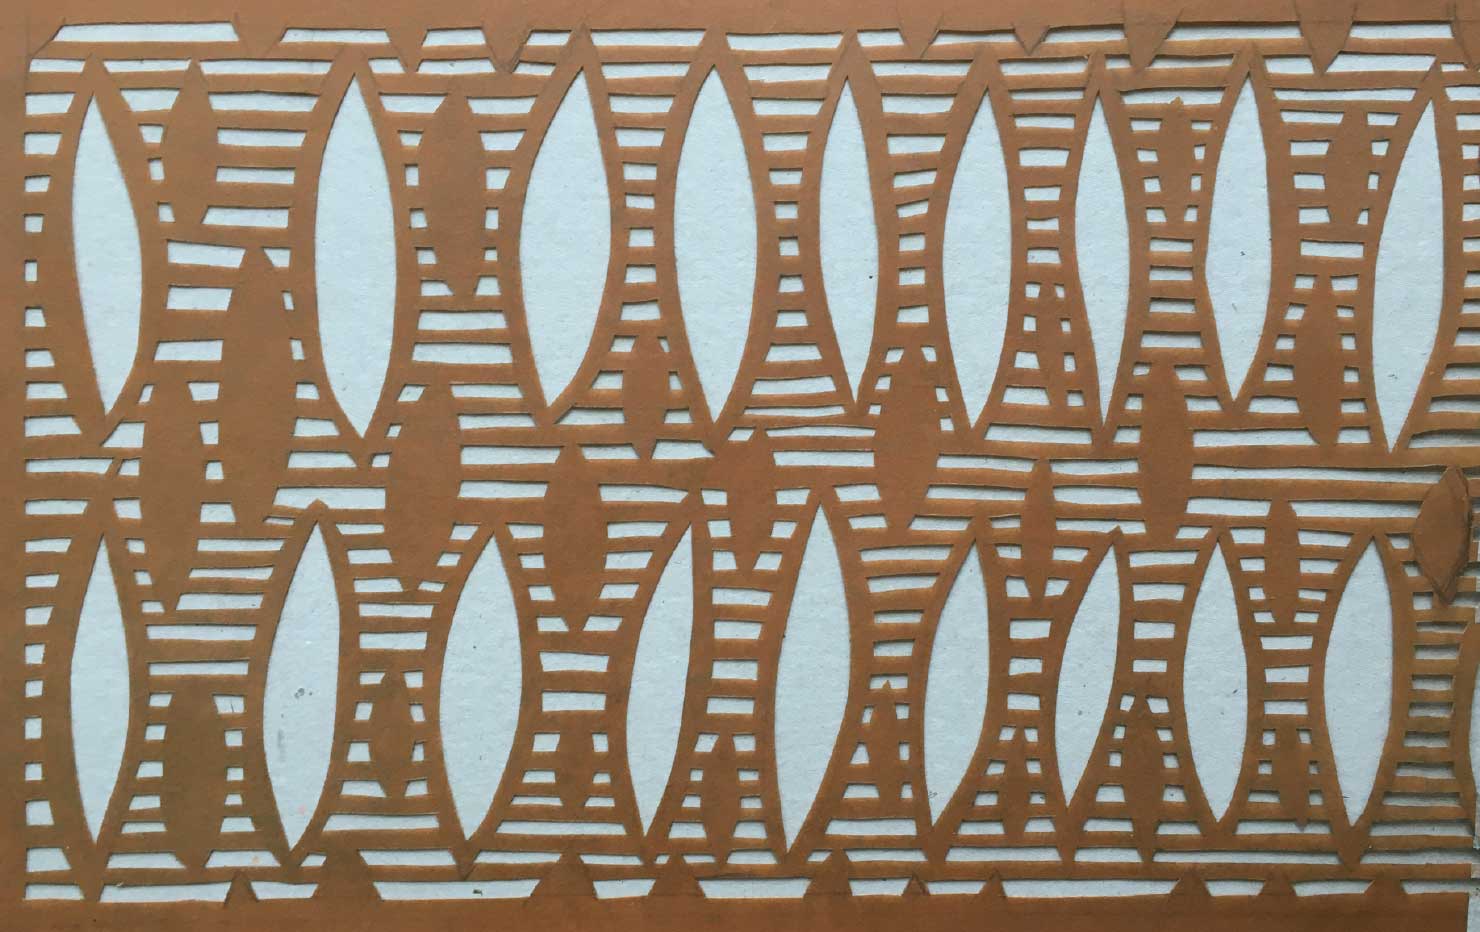
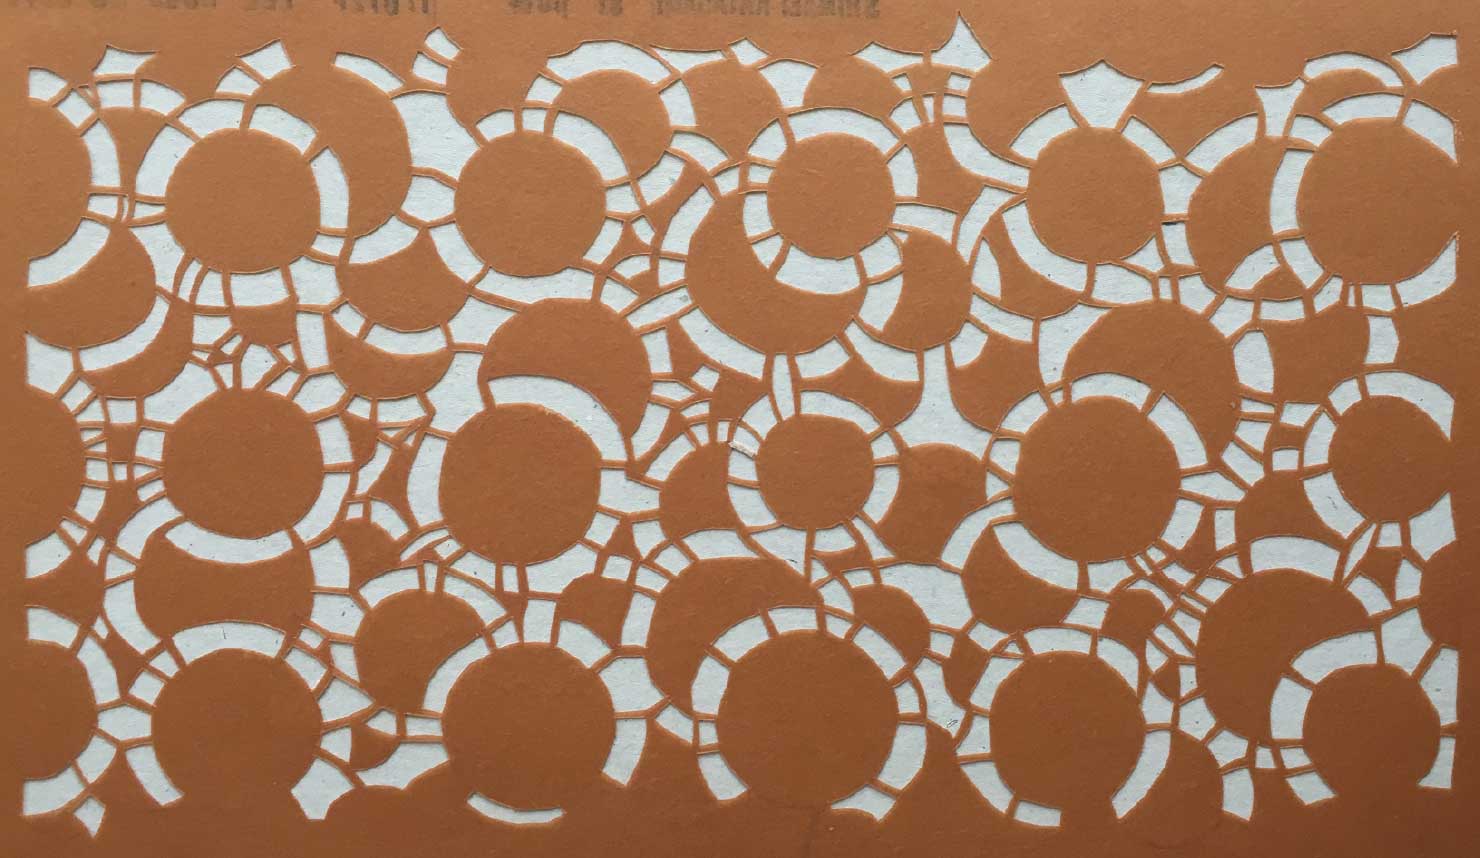
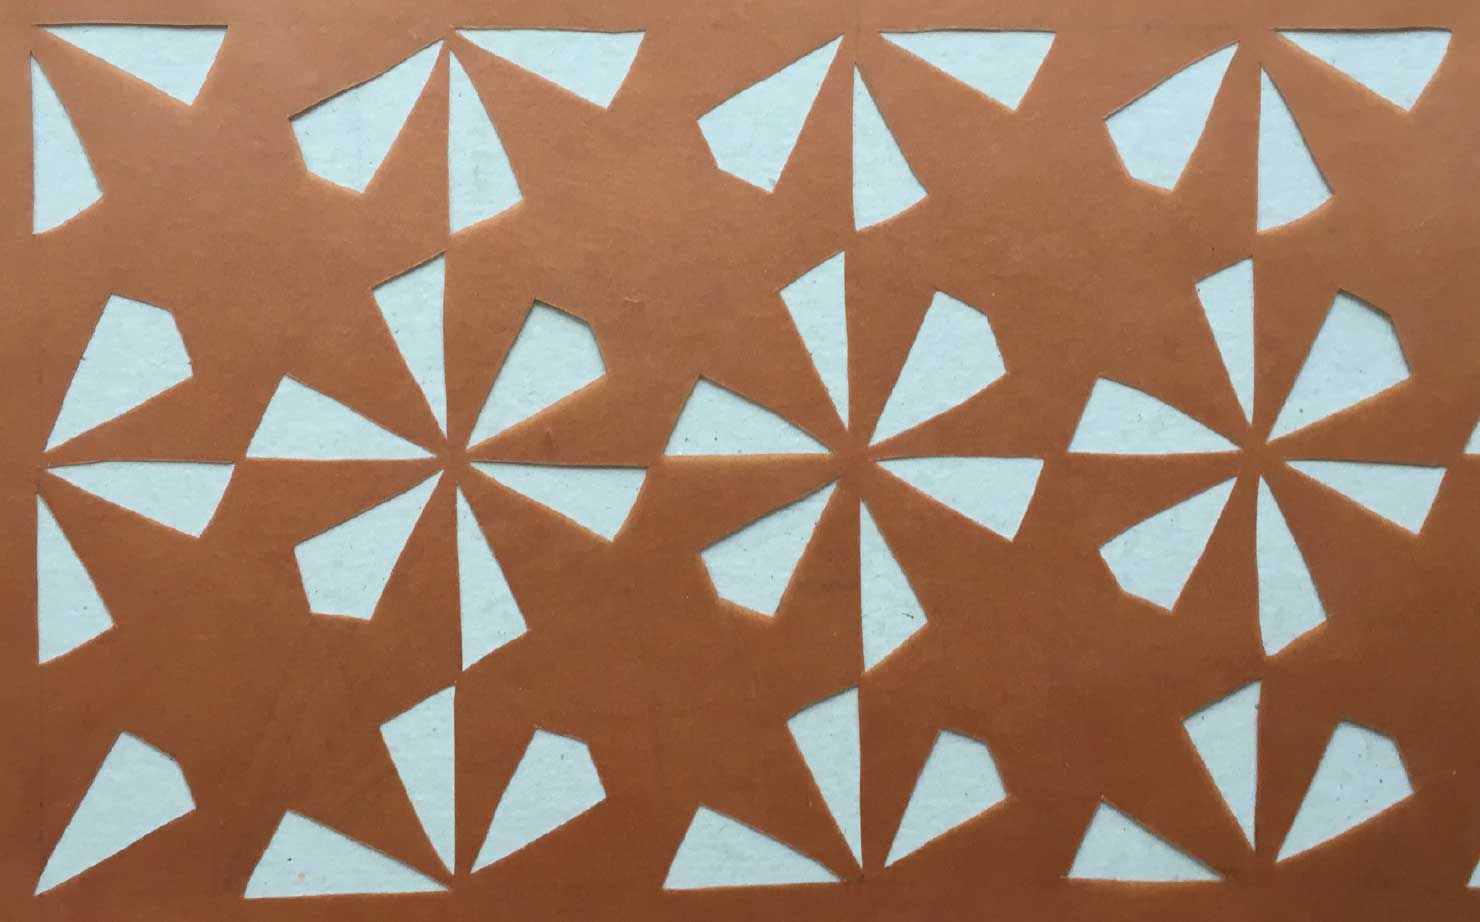
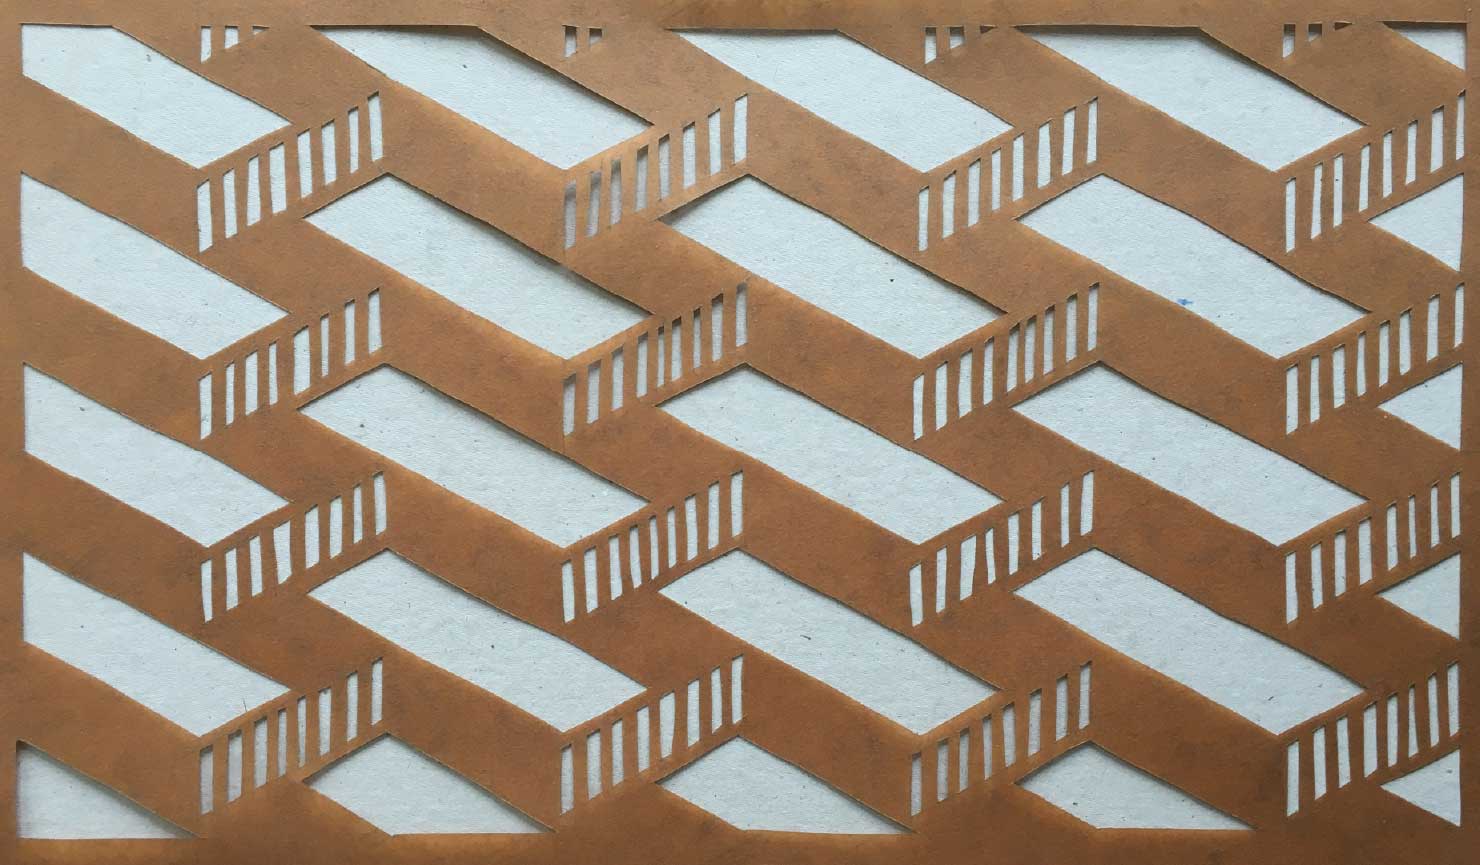
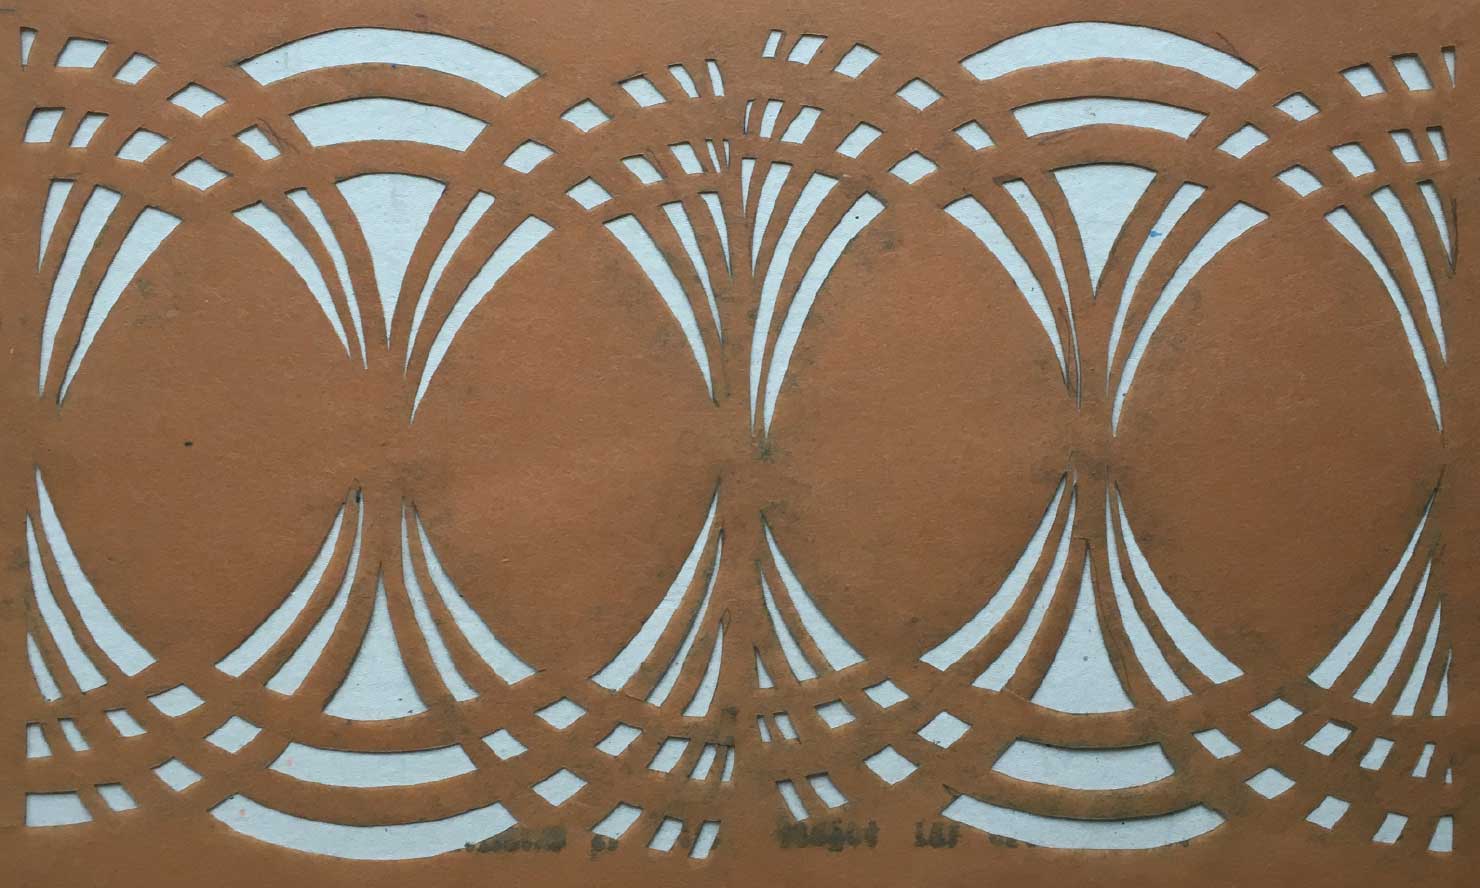
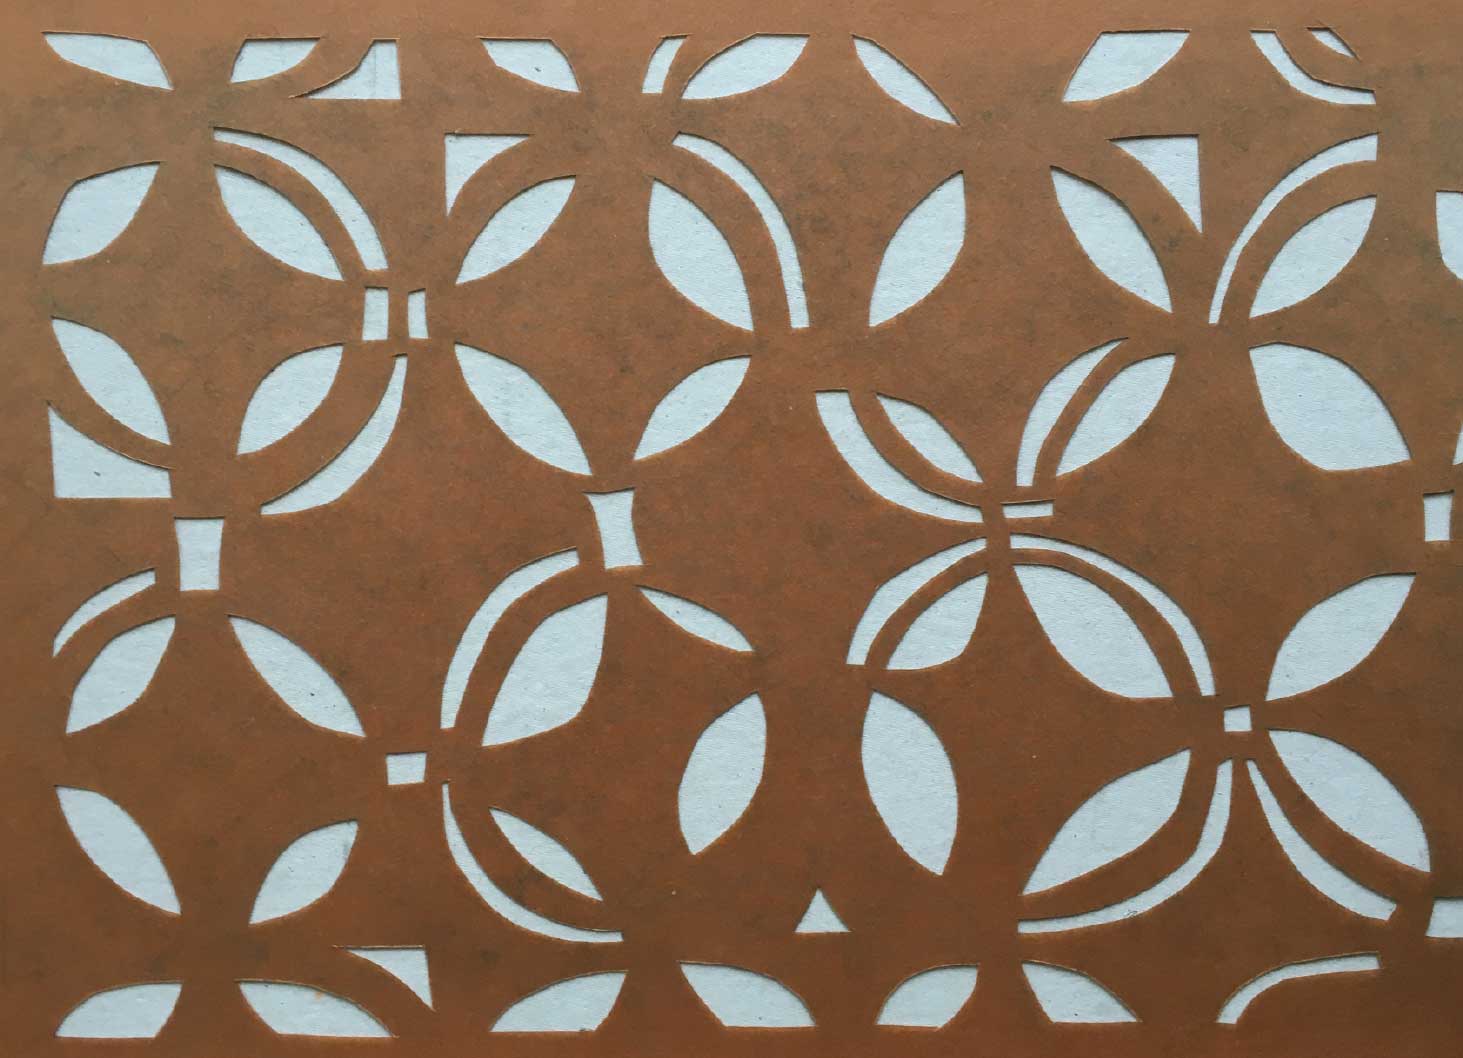
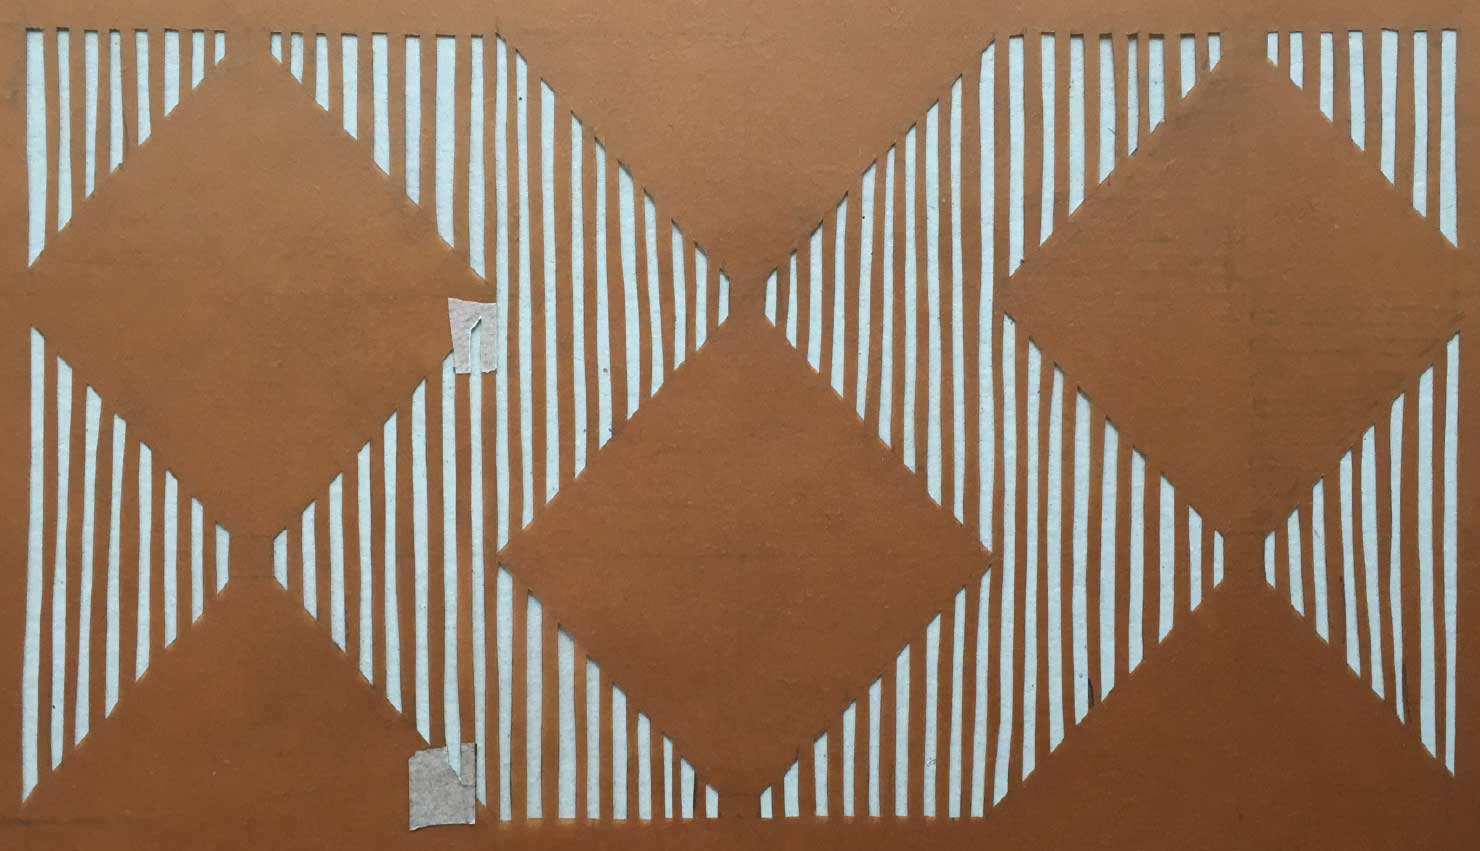
Stencil Making
For every print run, a hand-cut stencil (katagami) is made from curated persimmon paper (shibugami). By combining the stencils in a different order every single time I make a new print, new patterns will arise every time I print.
Image source: Drijver Films
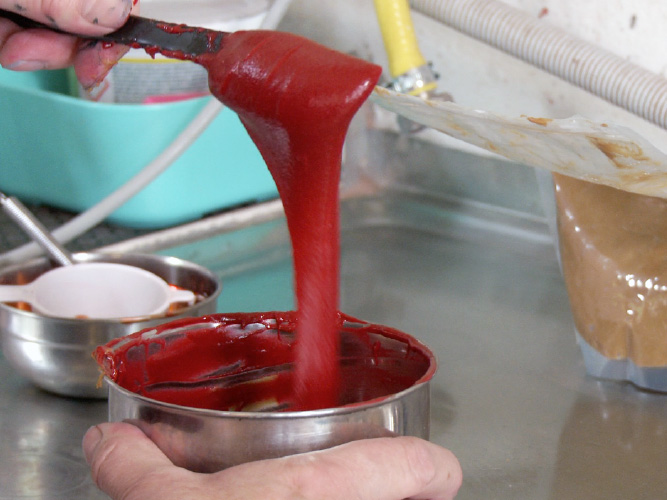
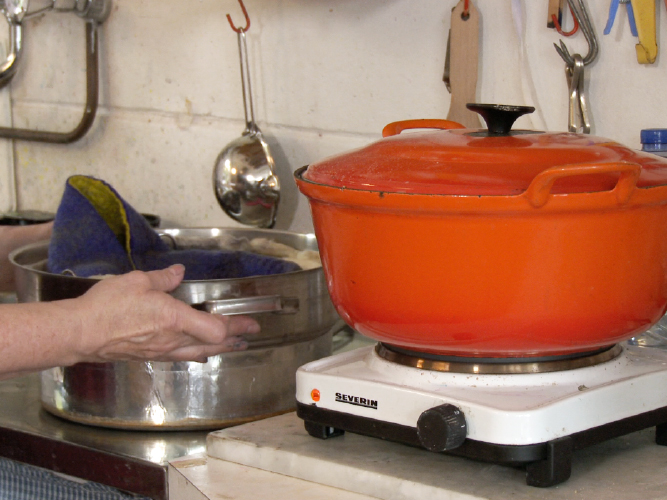
Rice Paste Making
During this process, I prepare the rice paste used for printing on silk. The rice paste consists of a mix of glutinous rice flour, finely ground defatted rice bran, calx, glycerine, and salt. This mix is steamed for 50 minutes before the dye is added to the paste.
Image source: Drijver Films
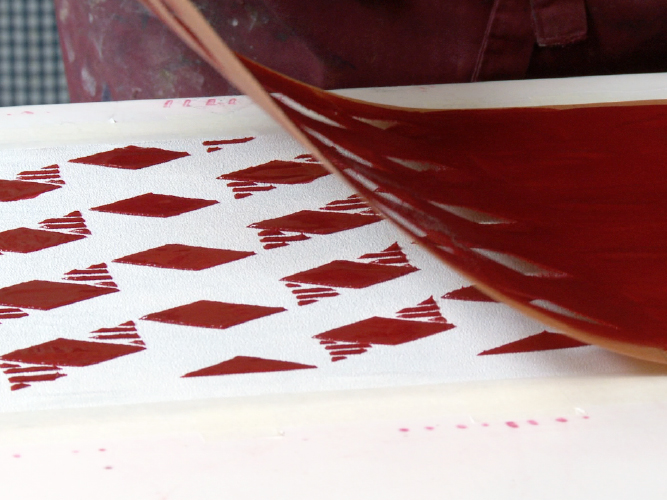
Printing Layer 1
Using a hand-cut katagami stencil, the first layer of rice paste is applied on the white silk. After the rice paste is applied, the stencil is removed. Before the second layer will be applied, the first layer needs to be completely dried up.
Image source: Drijver Films
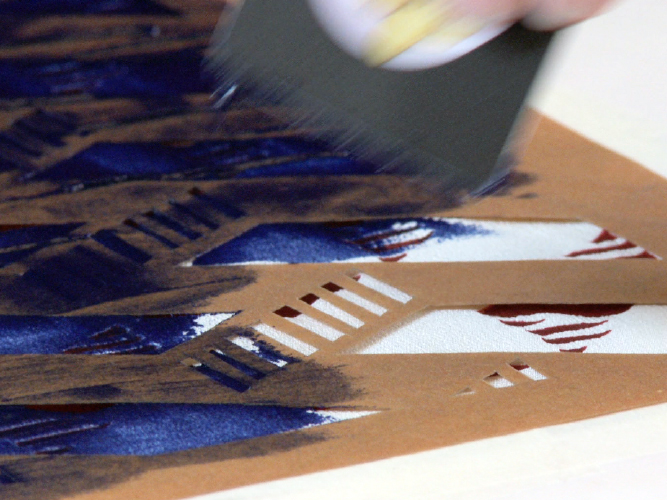
Printing Layer 2
When the first layer is dried up, the second layer can be printed. In this case, the colours overlay. The first printed colour will be dominant, because the rice paste covers the silk fabric in a way that any applied layer after the first one, will not go through.
Image source: Drijver Films
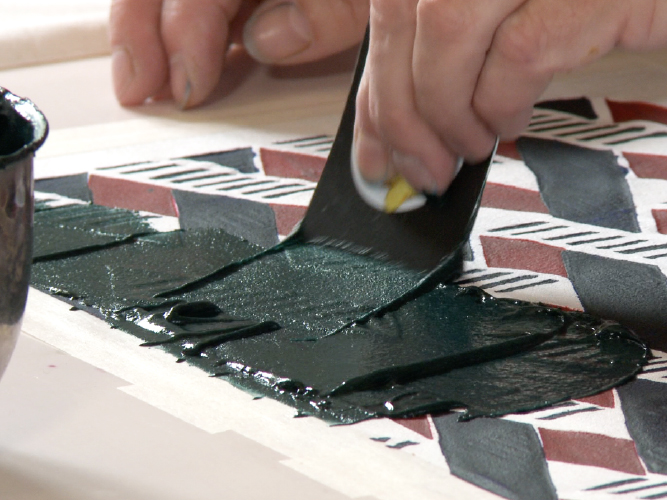
Shigoki
The last layer is spread out all over the fabric, without using a stencil.
Image source: Drijver Films
Steam Fixation
After all layers of rice paste have been applied and dried up, the printed fabric is ready to be prepared for steam fixation. Carefully packed in paper and felted wool, the fabric will be subjected to 50 minutes of steam fixation. This process binds the dye and the textile its fibers completely.
Image source: Drijver Films
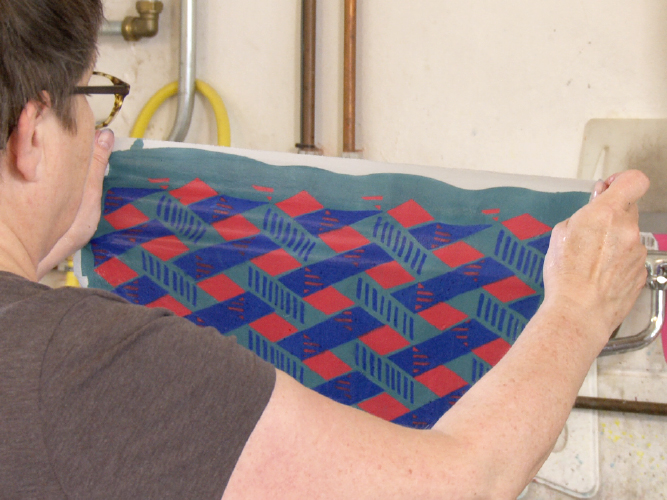
Rinsing
The last step of the katazome process is a proper rinse, using running water. The excess rice paste is rinsed out of the fabric, and the end result can be seen.
Image source: Drijver Films
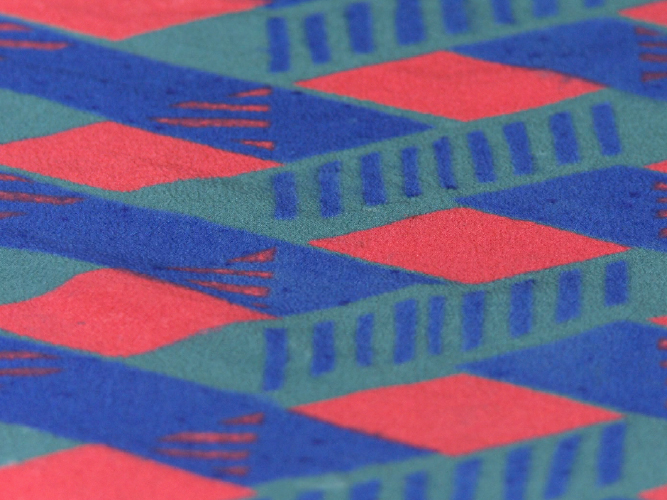
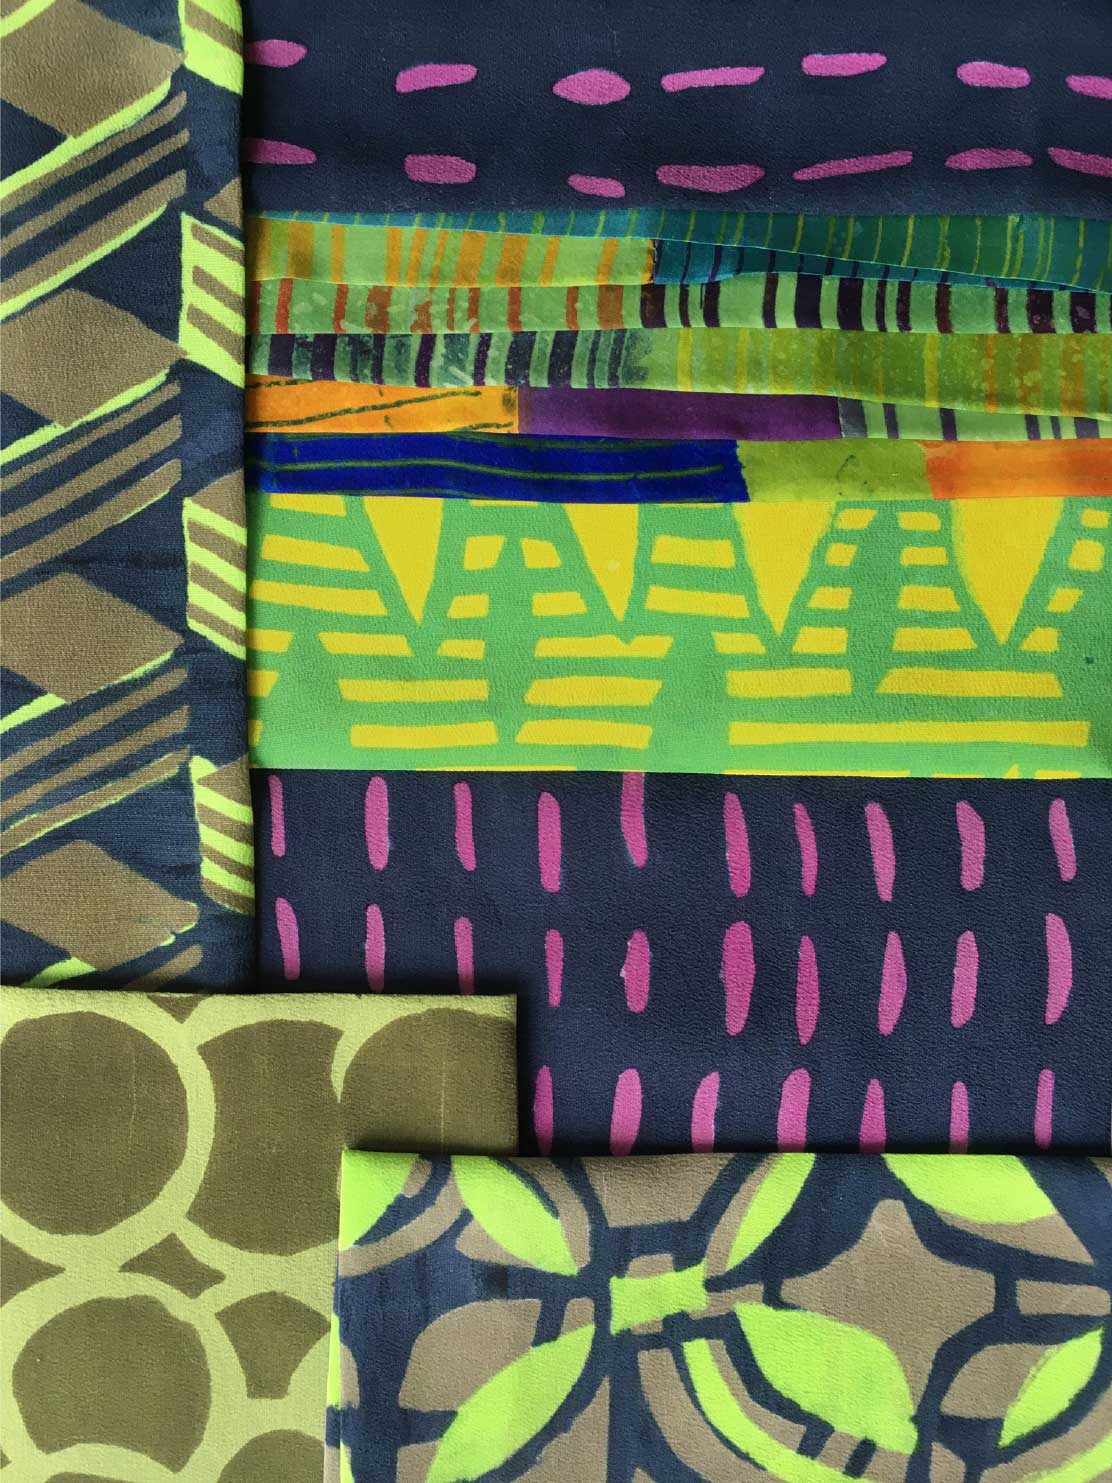
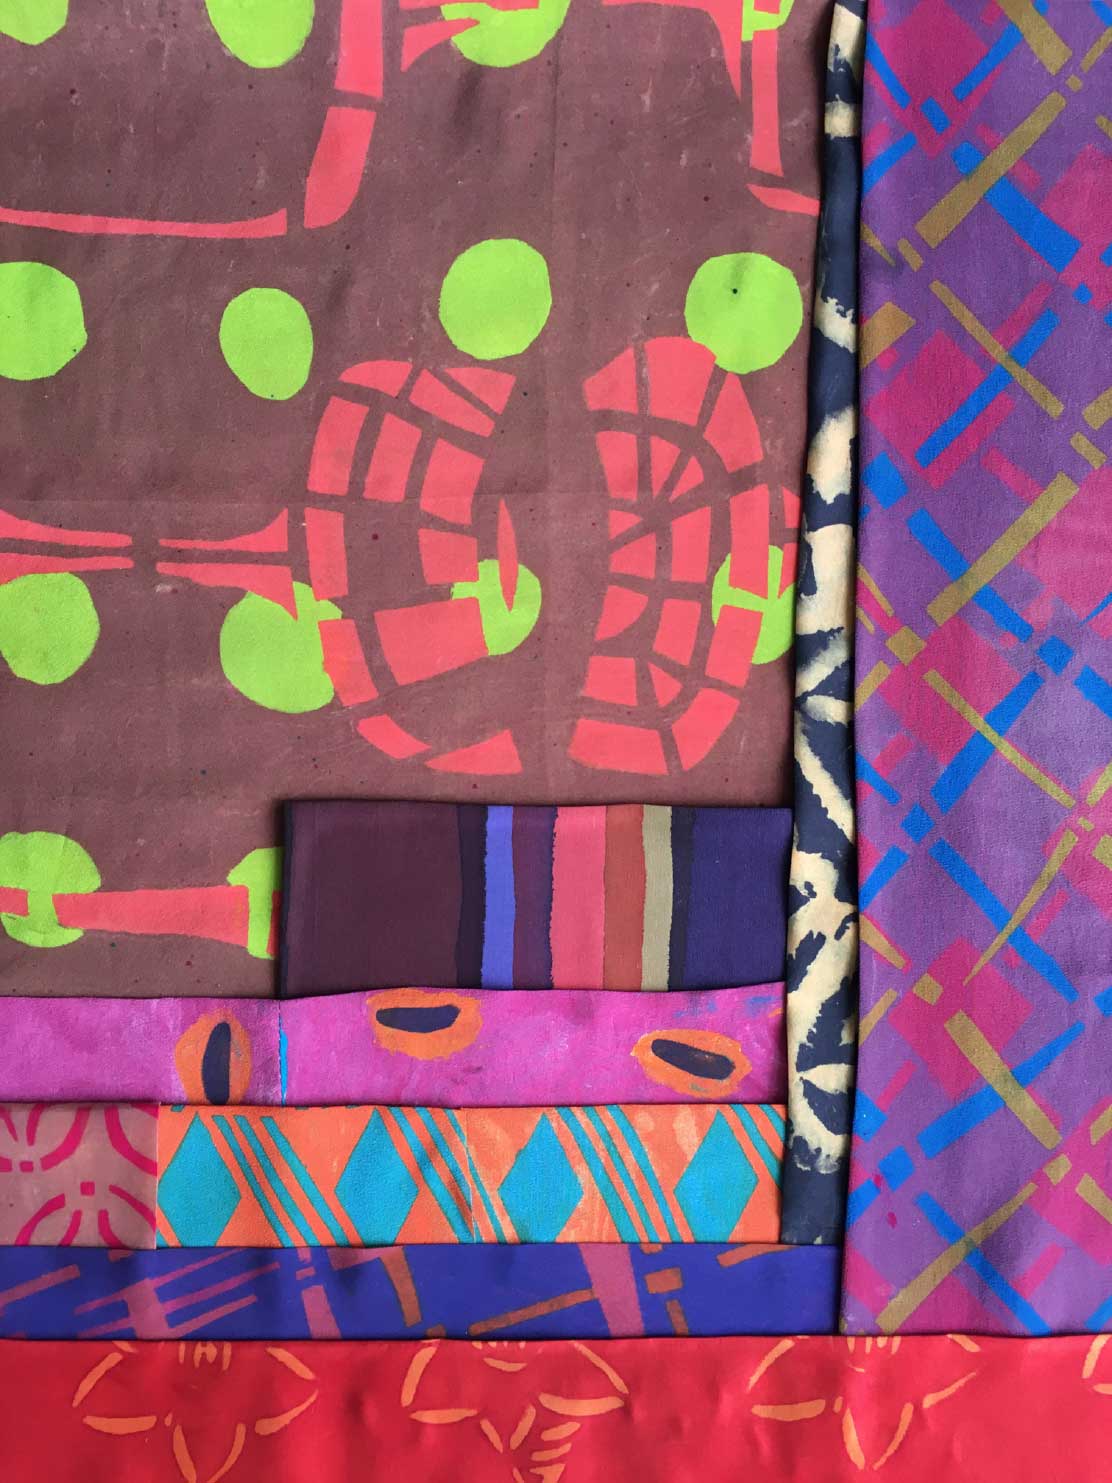
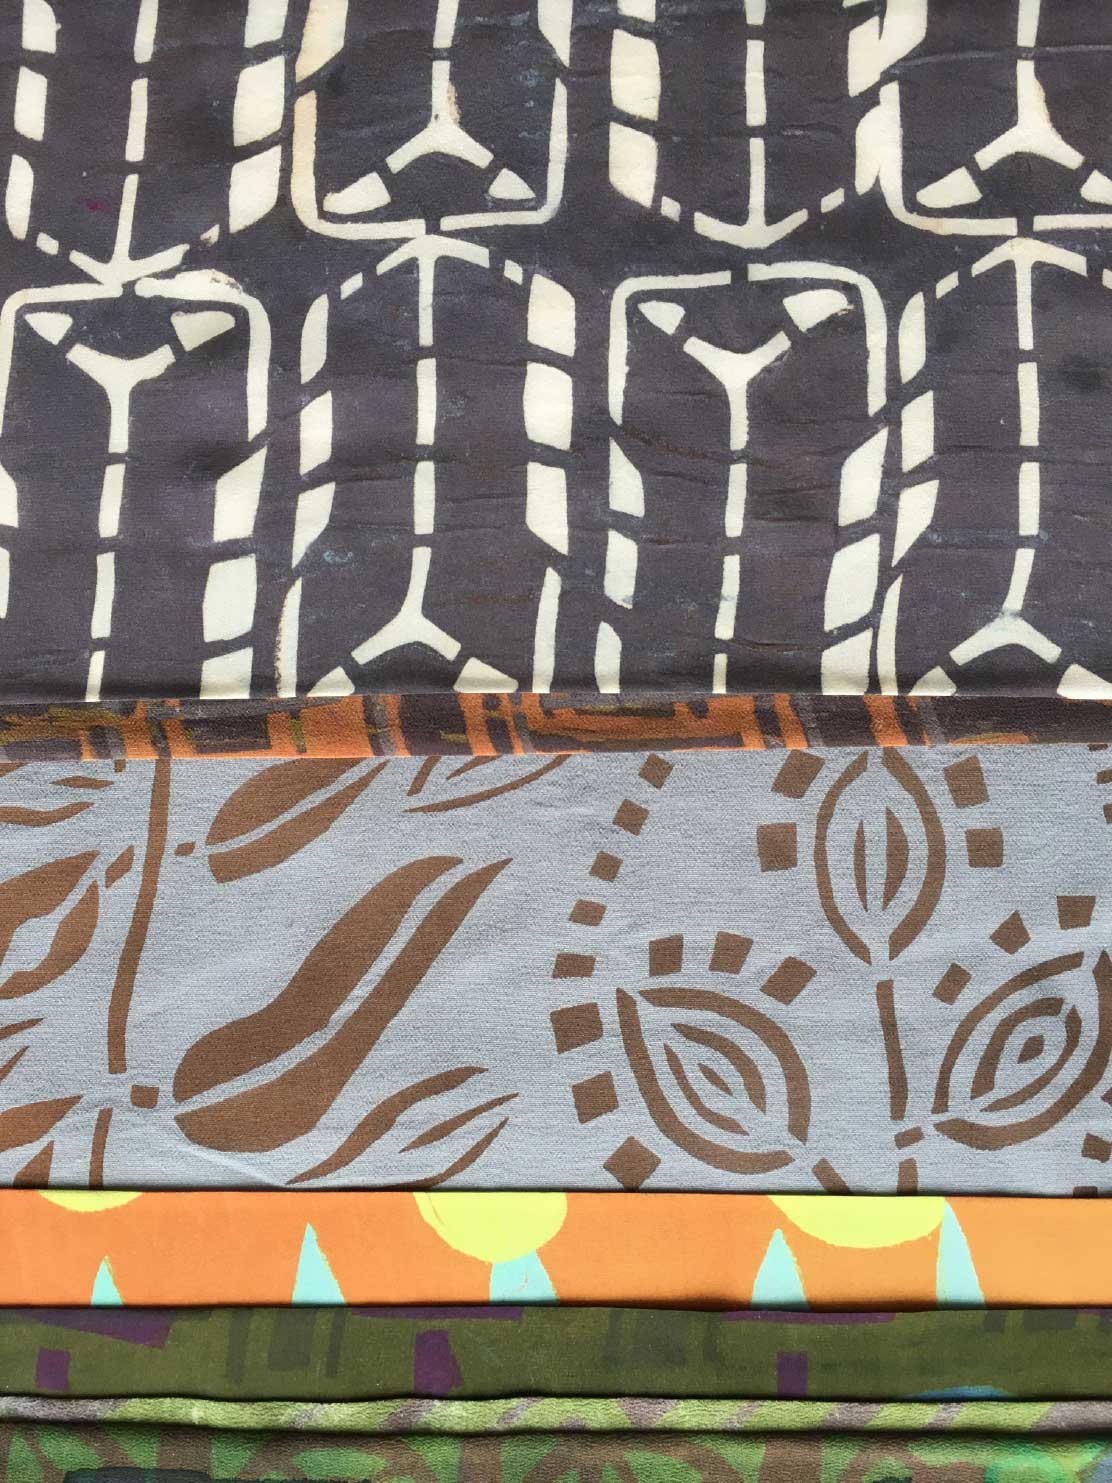
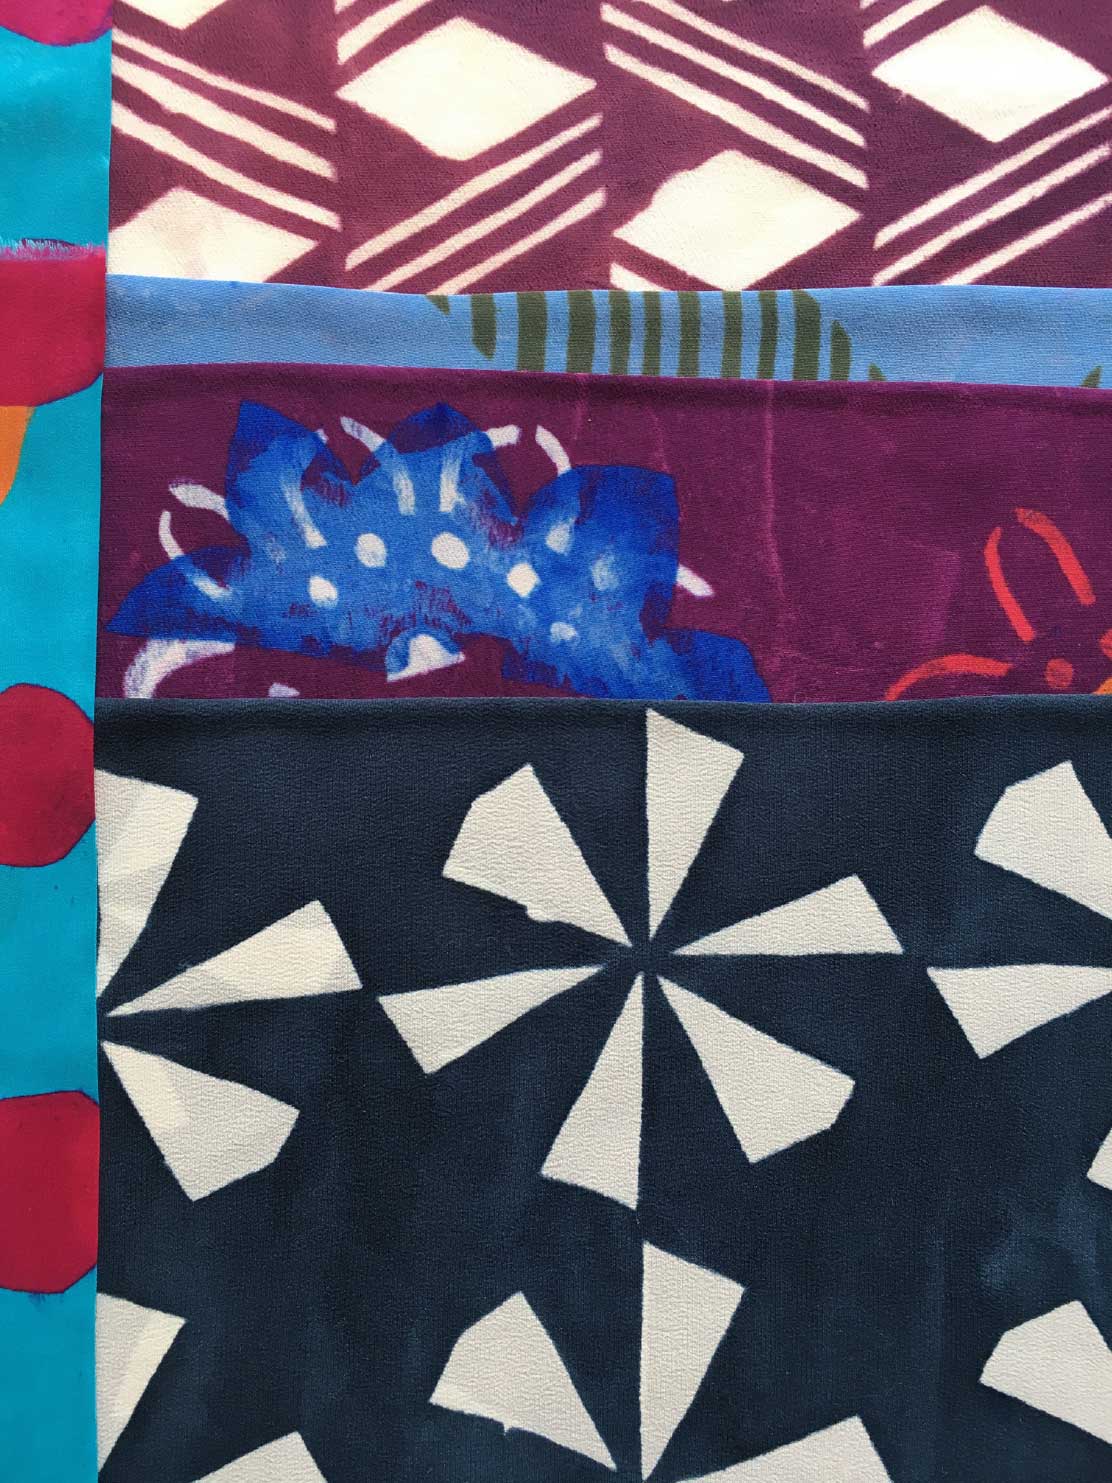
Final result
The process is complex, and the result is a bright, intense coloured print on silk. Every new print will give a slightly different image, which makes it unique.
Image source: Drijver Films